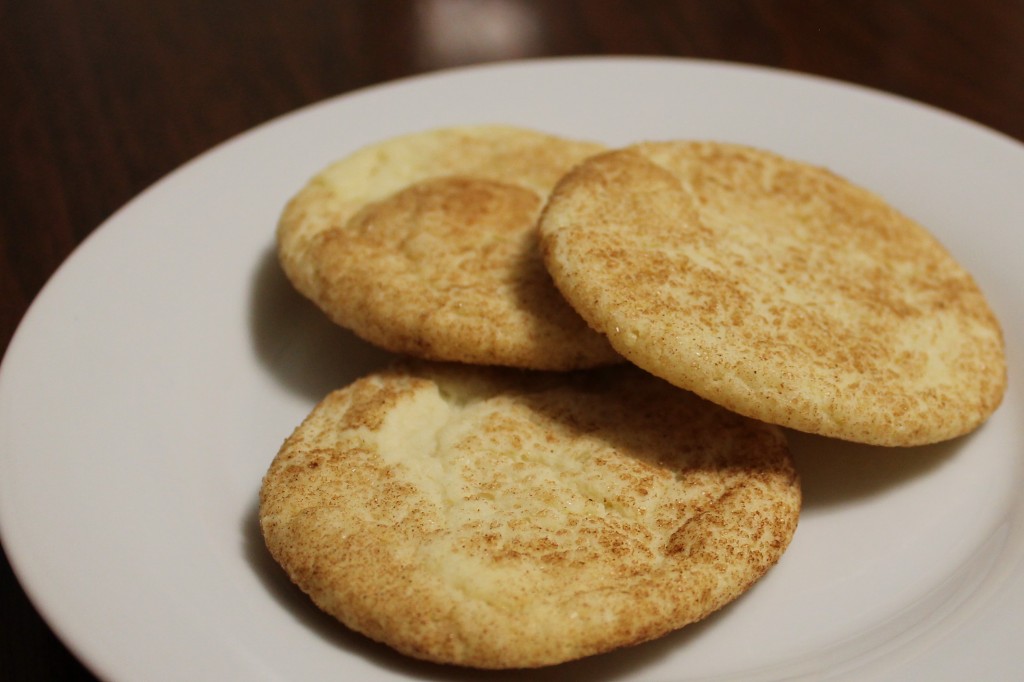
 This Snickerdoodle Cookie Recipe is the most requested cookie recipe from my husband and children. It’s taken some adjusting over the years, but the end result is perfect. My personal three cardinal rules of baking apply. They are: 1) For any baked goods, use White Lily Flour. 2) Always, always completely preheat your oven. and 3) Be patient and start with a small 1 cookie sheet test run to ensure your timing and oven temperature is accurate. Baking can be affected by anything – the weather, your ingredient quality, your ingredient temperature, your mix speed, straight on down to your mood. I mean that seriously. I really believe food is sewn with the love and patience you put into it.
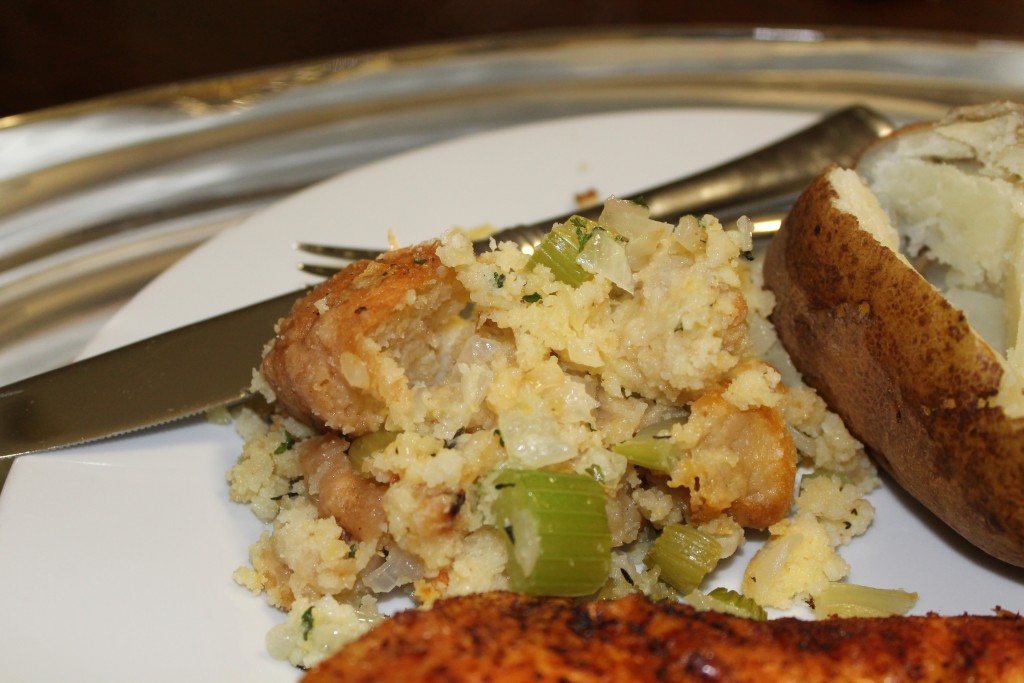
The White Lily All-Purpose flour is a low protein, low gluten flour made from soft winter wheat making it ideal for soft and chewy baked goods like these snickerdoodles – think cookies, cakes, pumpkin/zucchini/banana whatever quickbread, muffins, etc. I promise it makes an enormous difference. You don’t want to use this type of flour for everything as it is not ideal for the breading on the outside of your turkey scallopini – for that I would stick to a standard All-Purpose. If you’re making bread or and want that harder, crusty experience – then you have to go all the way to the the high protein bread flours. It can be tricky to find, but it’s worth it. If you’re in Dallas, I have had great luck with either Central Market or the Tom Thumb at University and Inwood. If you’re either living (lucky you!) or vacationing in the Florida Panhandle, I find all Publix stores in the Destin/30A arena to carry this. I often buy extra and bring some home.
Preheating your oven is critical. If you’ve ever burned the bottom only of your cookies, it was likely a preheating issue. The heat comes from the bottom and then rises to even out. Give yourself plenty of time to get to the proper temperature when baking. A roasted chicken can be forgiving, but I assure you a snickerdoodle can not.
As for the patience, baking cookies takes a little bit of time, but is so worth the effort. Do mix your wet ingredients fully. Do not over mix, once you’ve added your flour – that’s what keeps things light, soft, and chewy. Do take care to chill your pans and your dough. Warm butter in dough will cause cookies to run like crazy and leave you with a less attractive shape and taste! Luckily, I love the task oriented process of cooking. Cooking is like magic for me and makes me feel calmer just by the action of creating.
Extra Soft Snickerdoodle Recipe
Recipe Makes 48 cookies
1.5 c. butter
2 1/4 c. sugar
3 eggs
2 tsp vanilla extract
4 1/8 c. White Lily All-Purpose flour
3 tsp cream of tartar
1/2 tsp baking soda
1/2 tsp kosher salt
4 tbsp sugar
4 tsp cinnamon
Preheat oven to 350 degrees. In your stand mixer, combine butter, sugar, eggs and vanilla, then mix to combine until light and fluffy. In a separate bowl, combine flour (note* I think the White Lily is very important for baking), cream of tartar, baking soda, and salt. Use a whisk to combine. Set stand mixer to lowest mix setting, then add your dry ingredients to your wet slowly. Do not over mix, just until they are combined! Place a cookie sheet and mixed dough into freezer to chill for about 10 minutes.
In a small bowl, combine the sugar and cinnamon and whisk to combine. Remove dough and cookie sheet from freezer. Cover cookie sheet in parchment paper. Use a spoon to scoop a small amount of dough from your bowl, then use your hands to roll it into a 1 inch ball. These will spread into a perfect round shape, so don’t place them together. I use a half sheet pan (18 x 13) and I only put 8 cookies per sheet. Alternate rows of evenly spaced cookies, 2 cookies, then 1, then 2, then 1, then 2. Put your dough and another cookie sheet back in the freezer.
Place cookies in the oven and bake for 11 minutes. When the cookies are perfect, they will look puffed and rounded on top but will settle down to a flat circle as they cool. If they are still wet looking when you pull them out, cook another minute and adjust, but note they will look just barely solid when they are perfect. Cool 2 minutes on cookie sheet, then move immediately to a drying rack.
I have successfully mastered two sheets of cookies in the oven at one time, but be sure to switch the bottom and top racks at 6 minutes in to ensure even cooking for both.
Enjoy!
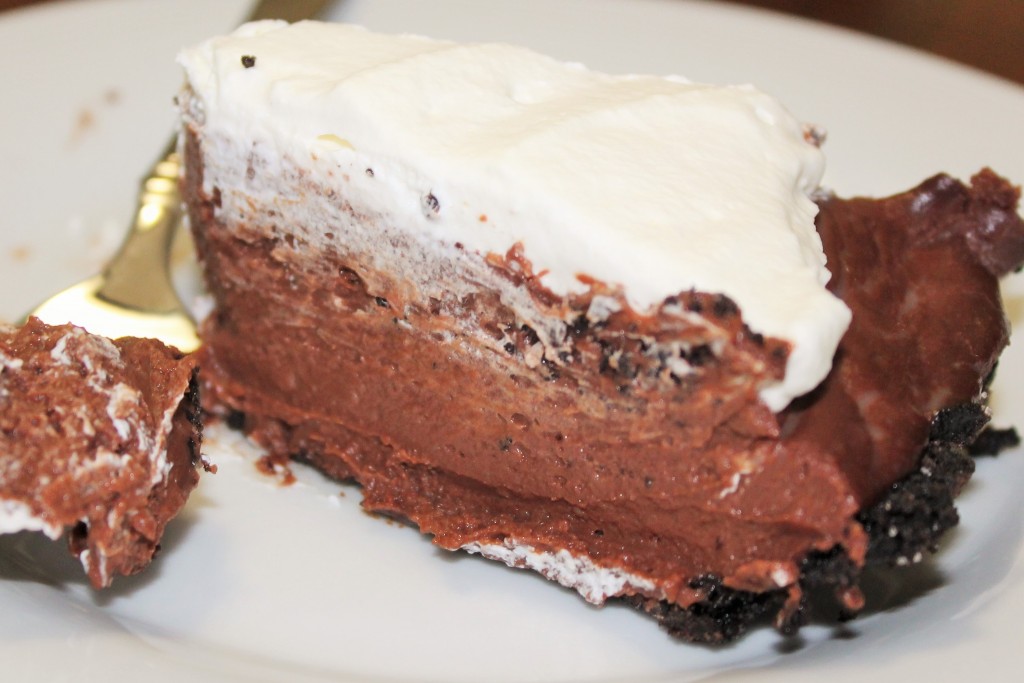 This is the Chocolate Bottom Crusted Chocolate Pie I made for Julia, a friend of my daughter, when her grandfather passed away. Hers had meringue on top, but I’m a big fan of real whipped cream over meringue, any day. For years, every time I saw Julia, we talked about this pie. It was the first and only chocolate pie, I’d ever made, and it took me several years to remember anything other than making meringue in cold, wet weather is a whip, and one I’d rather not experience again. I decided we should bring back this much discussed chocolate pie recipe, so I served it at Christmas. It was gobbled up so quickly, I failed to photograph a slice. As a result, I was forced to make another for our Bowl Game ; ). Good thing the pie was there to dry our tears. Let’s here it for a better year of Texas Football in 2015.
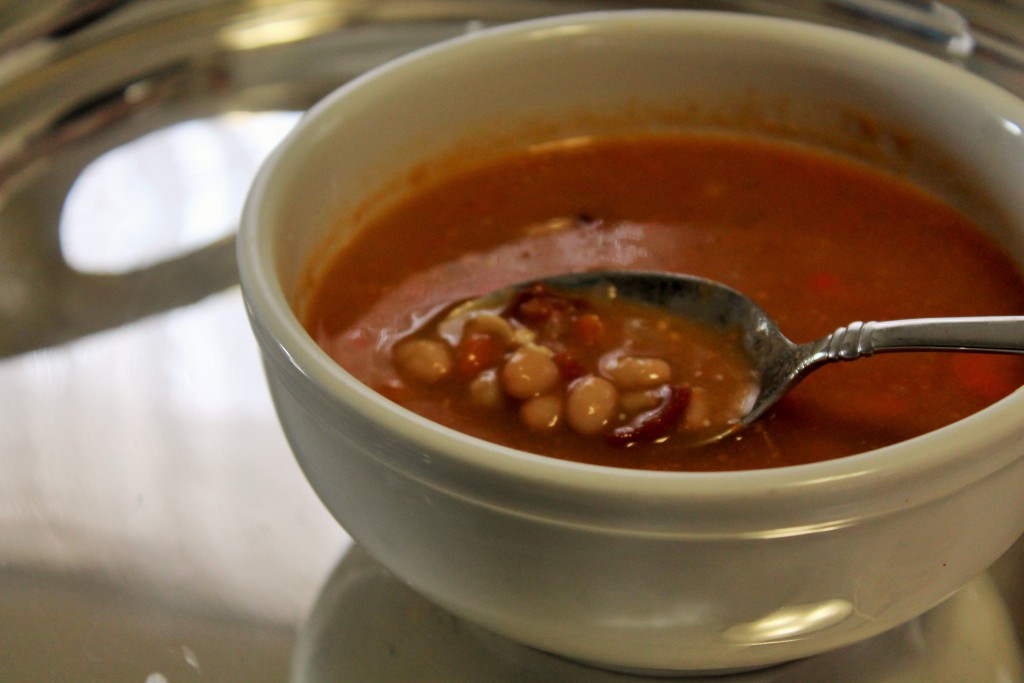 Winter is here, and with it comes my favorite, soup season. Second only to cooking with cognac season. The best soups start with bones, so as you bake those holiday hams, chickens, and turkeys – be planning your best soups yet! Beans are another food group I didn’t consume until at least 25, so in a way, I’m still easing my way into legumes. I use navy beans because they are small and extremely mild. If you want a more robust white bean flavor, you can try Great Northern or Cannellini. The bacon crumble topping is a game changer in terms of texture and flavor. You could also top with fresh chives, scallions, queso fresco, or crostini.

 This week Central Market had the most beautiful local portabella mushroom caps on display. Though I’ve never been able to pull off the portabella burger (it’s a texture thing), I absolutely love the flavor of cooked portabellas. This super fast sauce created from roasted chicken pan juices and a little whiskey was the perfect way to fancy up a Thursday night chicken dinner. Trust me, it’s magic!