Lamb and Rice Stuffed Grape Leaves Recipe – Mihshi Waraq Inab
Sep 26th, 2010 by lane
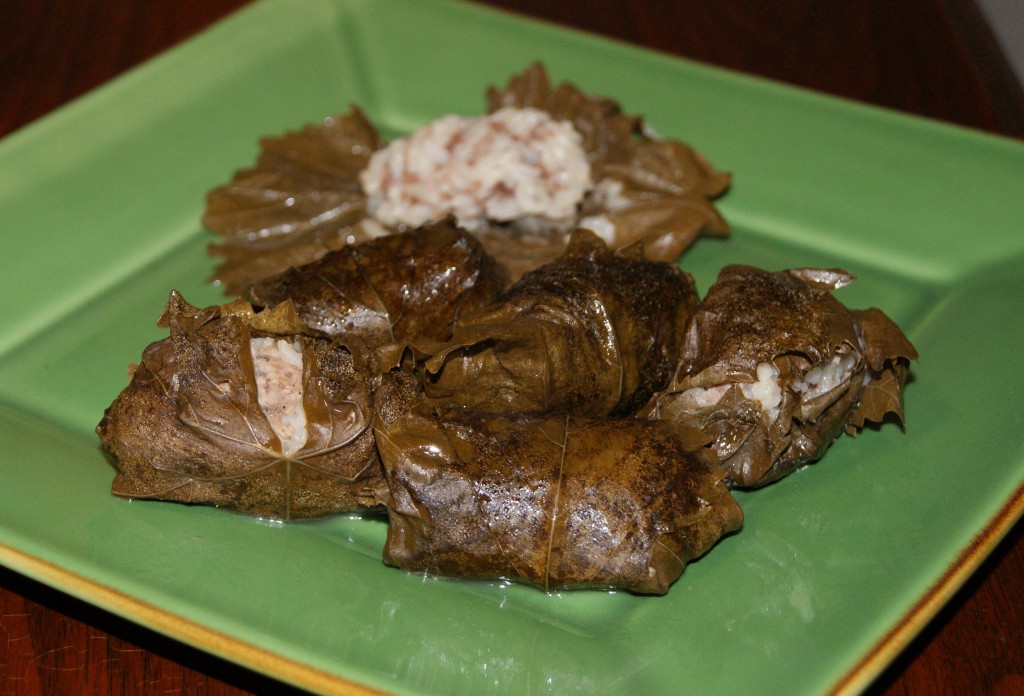 It started with a hummus sandwich. Austin’s local sub shop chain, Thundercloud Subs really began my voyage into Mediterranean and Middle Eastern cuisine. As a child I was hardly an adventurous eater, a habit that only slowly began to change in my early 20’s. For my entry to challenge #2 for Project Food Blog 2010, I prepared Lamb and Rice Stuffed Grape Leaves to showcase my ability by tackling a classic dish from another culture. This is probably about as far out of my comfort zone as I can imagine. I have never cooked or witnessed any form of lamb being prepared. Outside of a restaurant, I’ve never seen a grape leave. I love taking on new ingredients, and believe cooking is all about taking your fundamental building blocks and combining them to build truly great flavor in different and inspiring ways.
 To start my background information, I went to the best source I could find. My dear college friend, Christina, married a man of Lebanese descent. Last fall, when I embarked on my homemade pita experiment, the best recipe by far was adapted from their staple cookbook. They lent me their copy of Lebanese Cuisine, which has had 13 editions and is largely considered one of the classics for this region. There aren’t any pictures, but thank goodness for bloggers, right? In the next five years everything ever created in food to date surely will have been prepared, reviewed, photographed and covered by a food blogger. (wink)
The first challenge in the project was locating the grape leaves. I found them at Central Market, though I’ll admit it did take me two trips through the store. 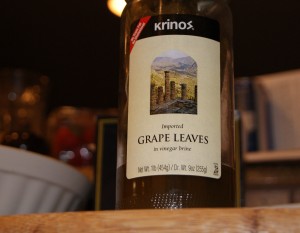 They were located in the pickles and olives section, next to some canned dolmas. Dolma is a word of Turkish etymology meaning stuffed vegetable – frequently grape leaves. The Lebanese name for this dish is Mihshi Waraq Inab, but the dish is made similarly under many names in the entire region, from Greece to Egypt to Iran to Armenia and everywhere in between. The origination of this dish is muddy at best, likely due to it’s birth in a region known as the cradle of civilization.
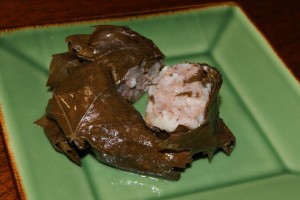 I like to think of stuffed grape leaves like Middle Eastern Sushi. I thought the filling had a fabulous flavor, slightly citrus, slightly salty, and was blown away by the delicate texture of the lamb. Somehow combining ground lamb with rice and a few seasonings, wrapping and covering with water, then cooking for a short time, didn’t seem possible to create such a flavorful dish. I do think my wrapping skills could use a little practice to gain a tighter, more compact roll, and possibly they could have been cooked longer to yield a slightly more tender leaf. Next time, I’d probably try to seek out fresh grape leaves just to taste the difference.
Lamb and Rice Stuffed Grape Leaves Recipe – Mihshi Waraq Inab
adapted from Lebanese Cuisine by Madelain Farah
1 jar grape leaves
1 c. uncooked rice
1 lb. ground lamb
1/8 tsp cinnamon
1/8 tsp allspice
kosher salt
fresh ground pepper
1/4 c. lemon juice
Pour rice in a strainer, then rinse until water runs clear. Drain then pour rice into bowl. Add lamb, cinnamon, allspice, 1 tsp kosher salt and 12 turns pepper, then use hands to thoroughly combine.
In a 3 qt sauce pan, use a few of the torn grape leaves to cover the bottom of the pan. This will prevent the stuffed leaves from sticking. In a large bowl of hot water, rinse grape leaves and soak for a few seconds before filling. Spread a grape leaf flat with the shiny side facing down.
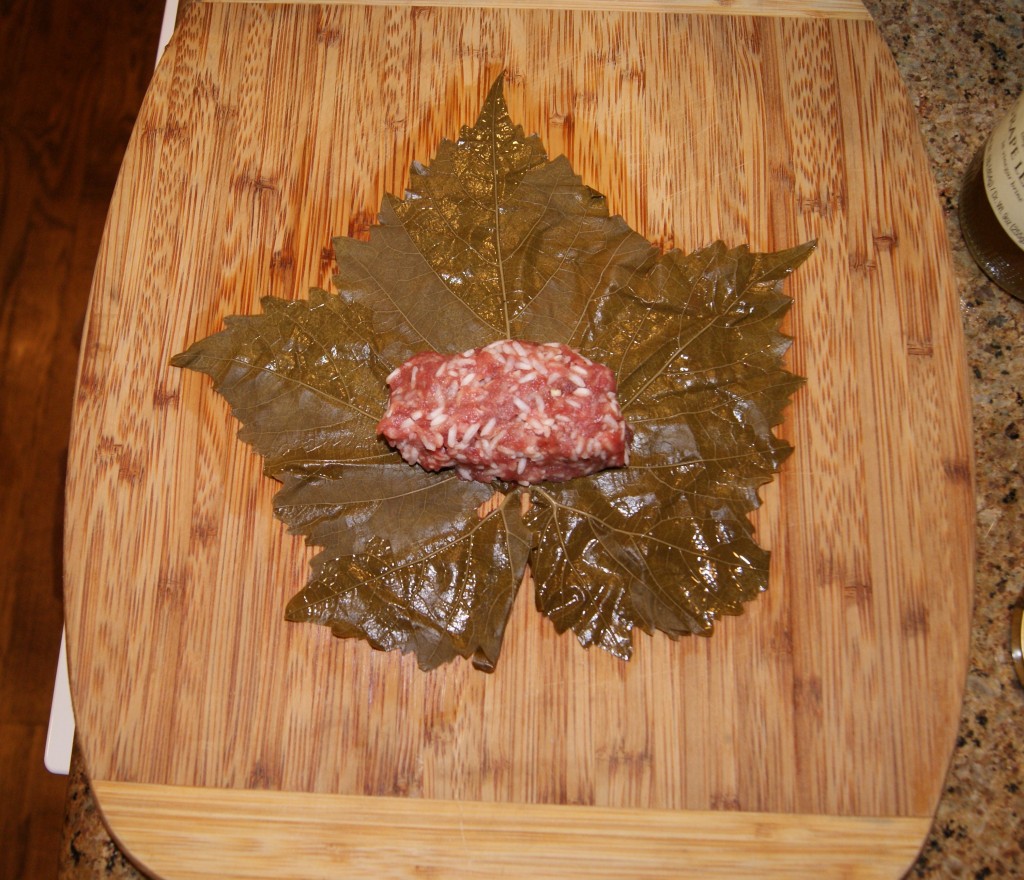 Then place a small amount of filling in the center bottom of the leaf. Roll the bottom leaves up, then roll the side leaves in to create a packet.
 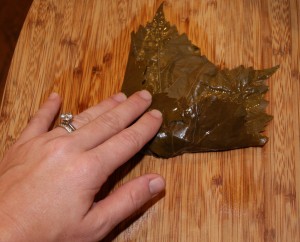 Continue rolling towards the top of your board to create a tight cylinder.
The notes in the recipe I was referring to indicated that if you just covered your stuffed grape leaves with water, all the water would be absorbed when ready. This was definitely not the case for me, even with extra cooking time, so I’m going to note the next picture – as how *NOT* to place your stuffed grape leaves. I’d advise trying to line the whole edge in a ring – with a base of each cylinder touching the outside of your saucepan. The key here being to have as many stuffed grape leaves as possible with as little room for water to go.
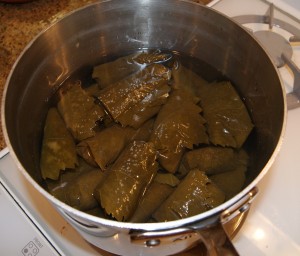 After you’ve placed all the stuffed leaves, sprinkle the surface with a little kosher salt, then place a plate on top to hold them in tight rolls. Cover, heat on medium for 15 minutes, then add lemon juice. Cover again, then continue heating another 25 minutes. Serve Warm.
Happy Eating!
 Rrrraw! I’ve
 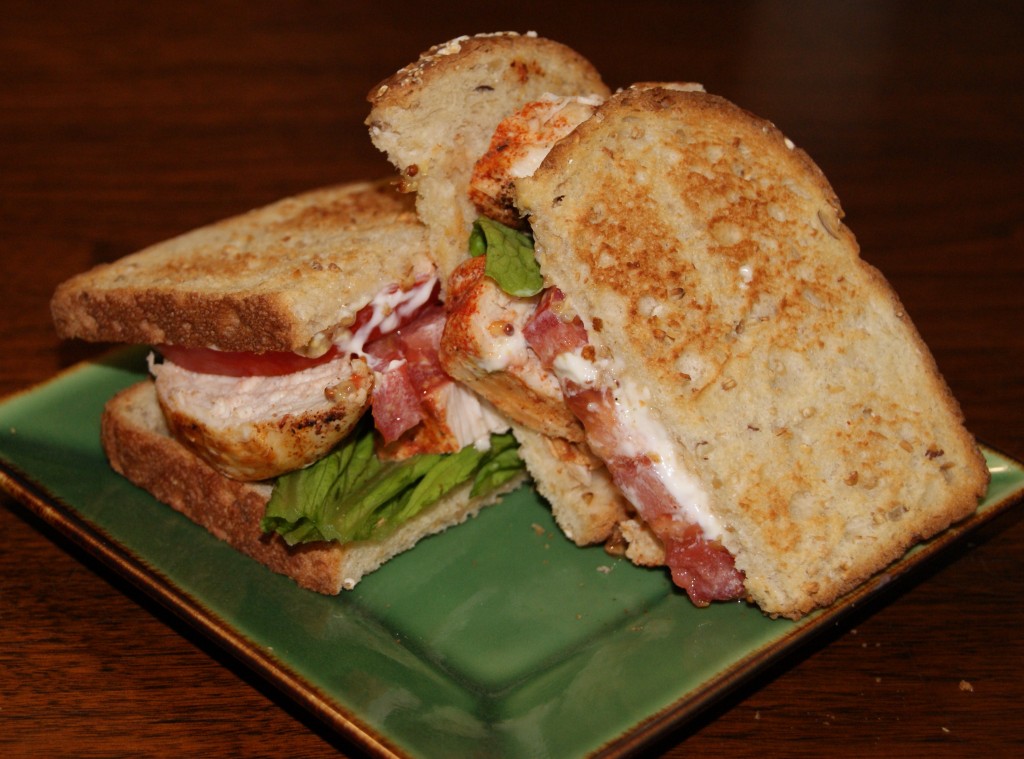 I’m genetically designed to hate lunch meat. There’s been so much discussion in my life about the qualities required for edible lunchmeat, my sister Amelia just doesn’t eat sandwiches at all any more. Some lunch meat is wet, some is to dry, anything coming prepackaged is frightening. And when Rocke’s Butcher Shop moved across the river to Morton, I think my family just stopped buying lunch meat all together. So my husband puts it on the grocery list every week. And nearly every week I ignore it. Finally he inquired, what’s your quarrel with lunch meat? And I had to sheepishly admit to my squeamishness at the deli counter.
 I’m an official contestant in Project Food Blog, a series of 10 blogging challenges and ultimately a cash prize, fame, notoriety, and stardom. After that, I think they might offer me the presidency. Seriously though, I’m hoping to stay in the running at least awhile, since the challenges sound straight up my alley. I mean, really?!? Challenge Number 3 – Create a luxurious dinner party menu or Challenge Number 6 – Road Trip – Creating a meal to go, that travels well, tastes and looks great. These have Lane written all over them! Voting opens today, so click on the box to the right and vote for me if you can. Frankly, I’m a little nervous right off the bat, because I’m not sure if I understood the directions on the first challenge correctly. I thought we were supposed to write a heartfelt blog post that truly represents what your blog offers to readers, so I entered yesterday’s pot roast post. Now that I’m seeing the other contestants entries, perhaps I was supposed to write a heartfelt post on why I would be a great star. I’m not really sure, but I want to do these challenges! So help me out in the voting if you can! Either vote from the link at the right or this
 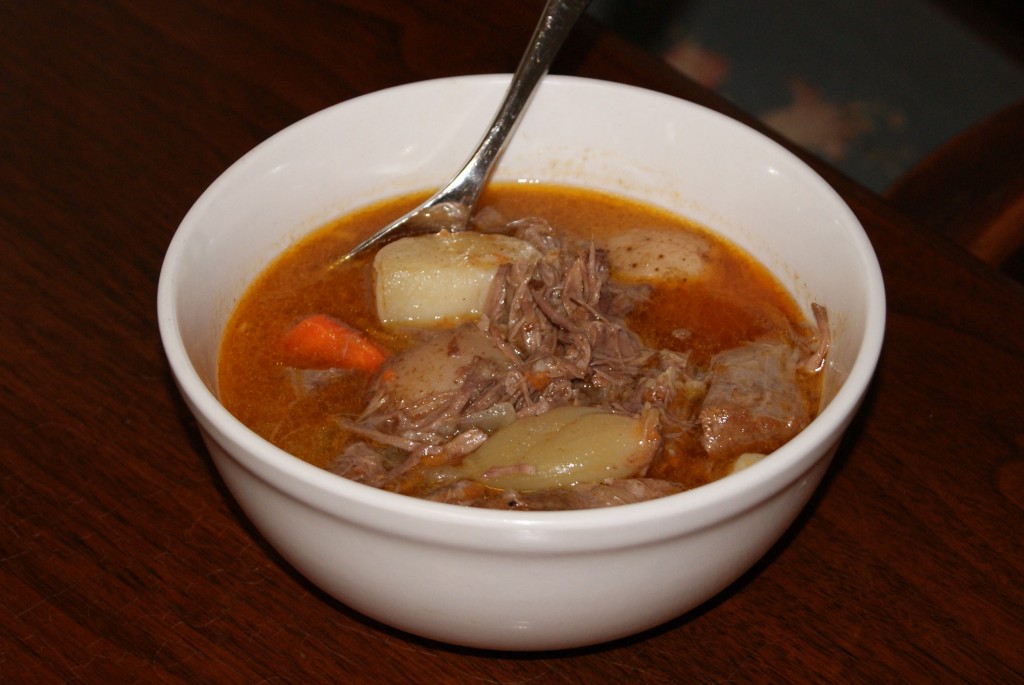 A good pot roast has seen me through the worst of times. In our family, in times of major life crisis, we turn to the purest form of love and comfort – a pot roast. Somehow the stewed chuck roast and vegetables provide a warm hug to dry up your tears and help you find the courage to face another day. Of course, we eat pot roast on happy days too – but many a phone conversation between the sisters and my mother involve the direction – well somebody get over there and make her a pot roast. Unfortunately for Allison, this involves a plane ticket, sadly resulting in far fewer pot roasts delivered to her abode.
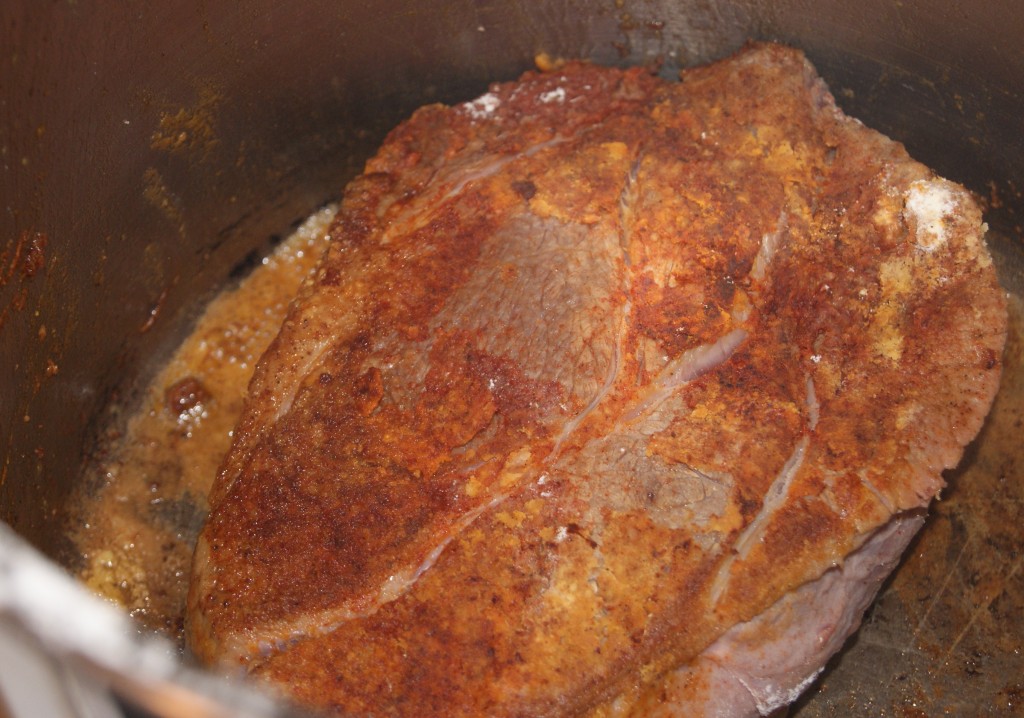
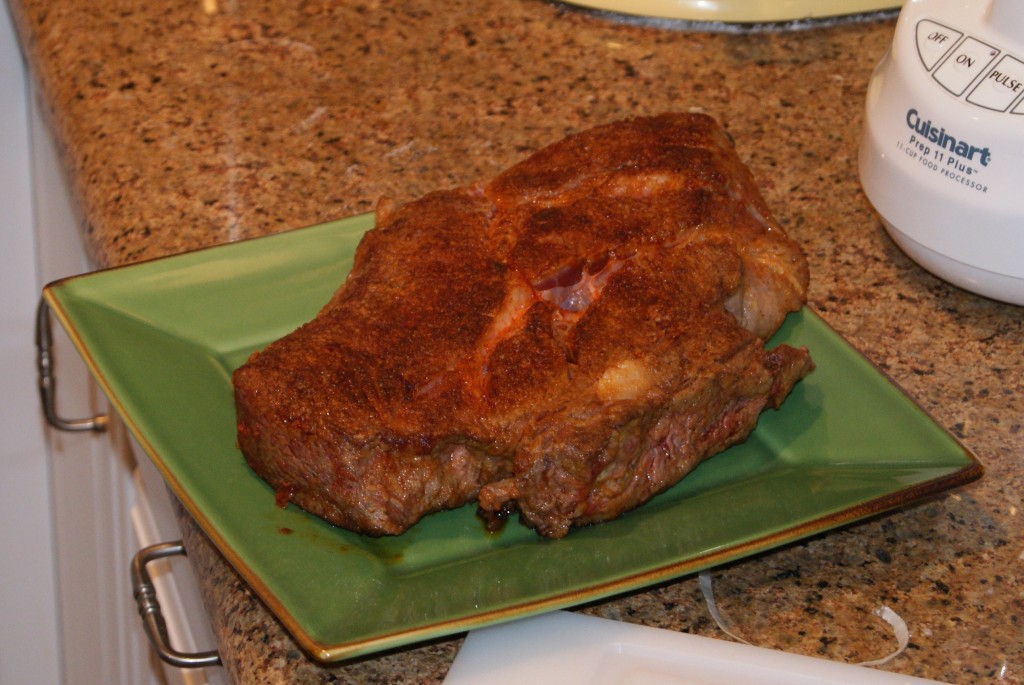 When meat is completely browned, add reserved roast and any accumulated juices back to pan. The entire browning process should take you about 40 minutes. Cover with water almost, but not quite, covering the roasts completely. Add 2 teaspoons salt and 16 turns ground pepper. Cover stock pot with a lid, and reduce heat to medium. Check after 1 hour, reduce heat by about 25% then cover and cook another hour.
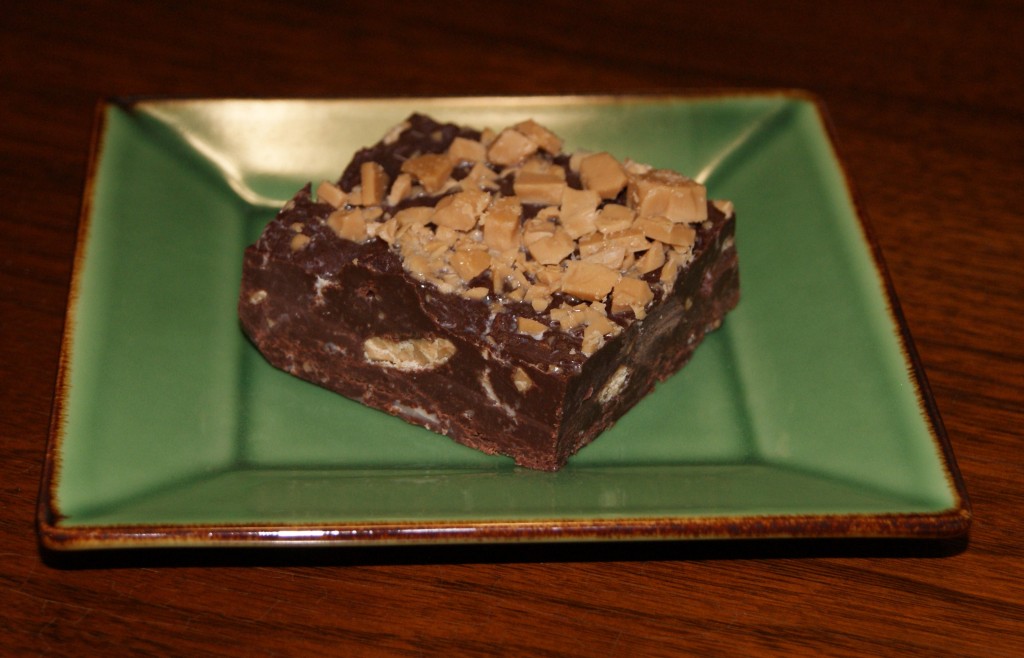 When sitting at my computer last night, I had a burst of inspiration. I need fudge. With a heath bar mixed in like a Blizzard. And it has to be super deliciously chocolate. Then I realized, wait. I can make that. My family has made English toffee every Christmas for as long as I can remember. Like all good things, I was taught to make this confection by my mother. I love the crispy, crunchy, sinful taste of toffee. But I love chocolate more, so this is like an inverse recipe. I can’t speak to when I realized I love fudge, but I definitely remember it as a first request at the tail end of my Gestational Diabetes pregnancy with Quentin. An odd request for me really, I’m much more of a fried mozzarella cheese stick or wine glutton, or if I’m having a really bad day, an entire bag of cheetos and a Coke Classic. But every now and again, fudge just calls me and I’m never disappointed.
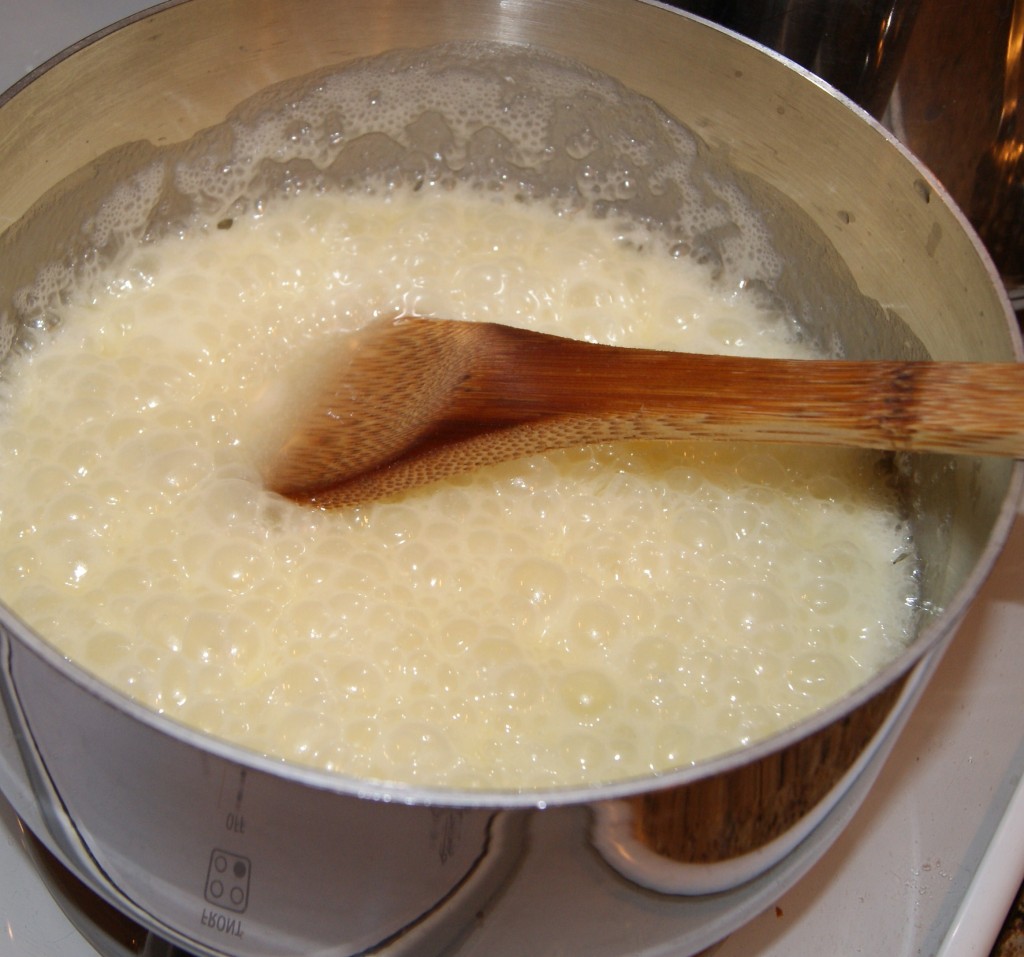
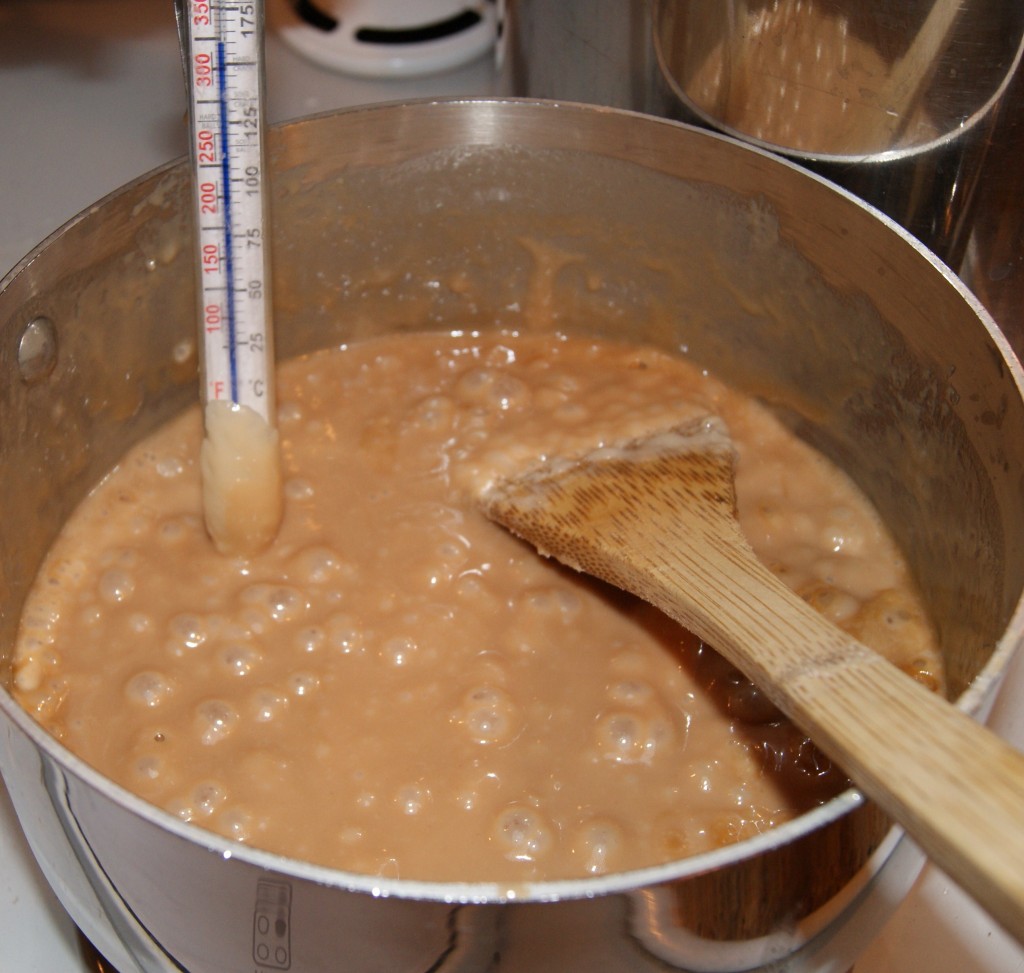
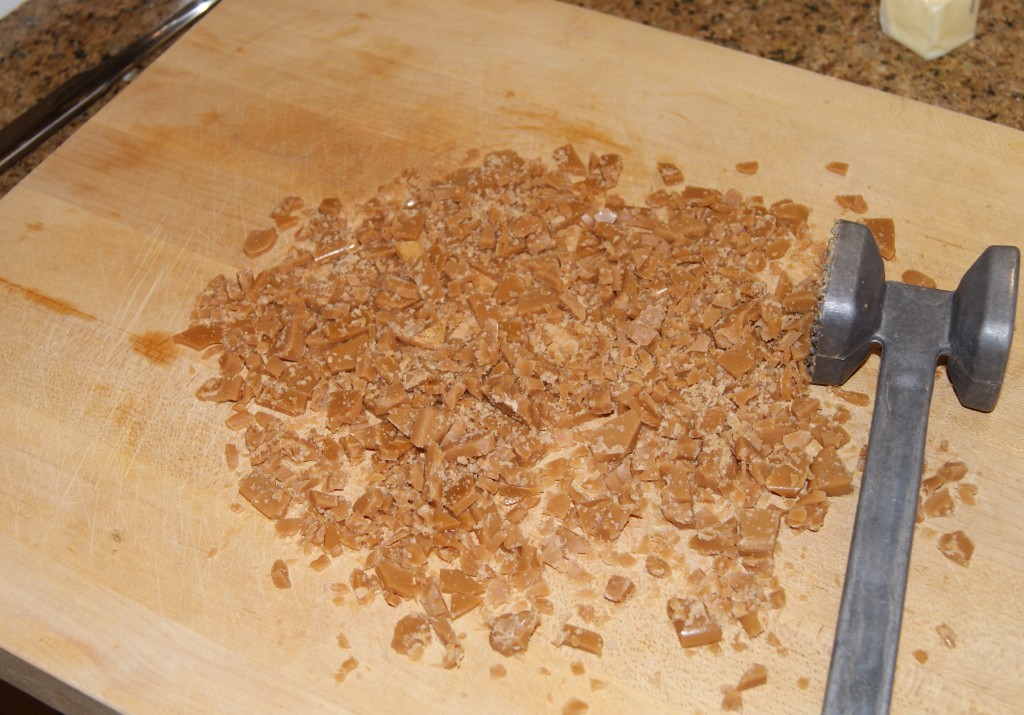
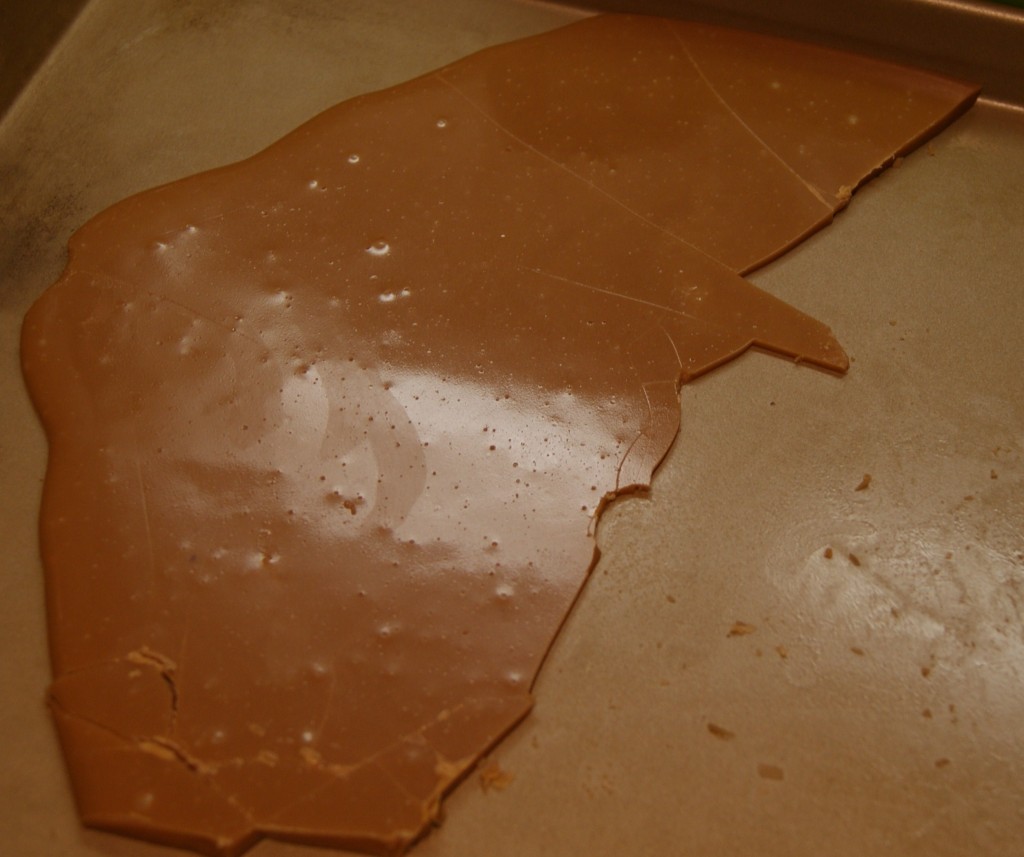 In the top of a double boiler, combine chocolate, butter, and sweetened condensed milk. Let rest over barely simmering water, but resist the urge to be productive while you’re waiting. Chocolate is easy to burn, and frankly, we all need to sit and do nothing every now and again. Glance at your chocolate mixture every now and again and give it a gentle stir every two minutes or so. Once chocolate starts melting the process things speed up precipitously and this window is your most likely chance to mess things up. Once thoroughly melted and stirred, add 1/2 cup of your toffee crumbles and stir again. Pour mixture into glass casserole you earlier fitted with Saran wrap. Use a spatula to smooth surface, then top with more toffee crumbles. Refrigerate at least two hours, then gently use a knife between saran and glass to wedge out the entire block of fudge.
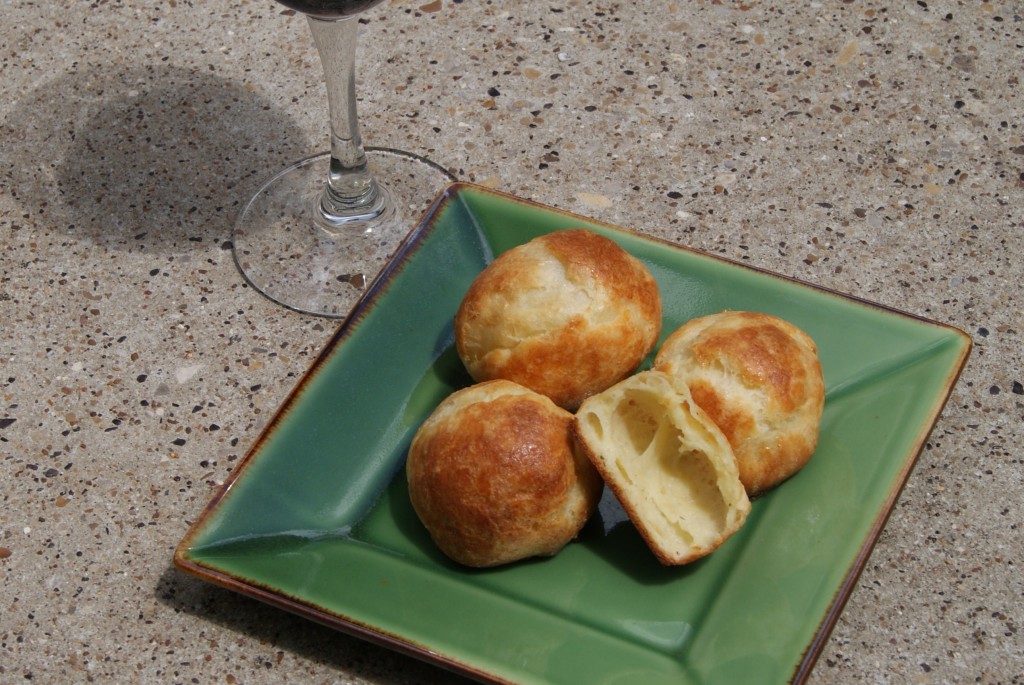
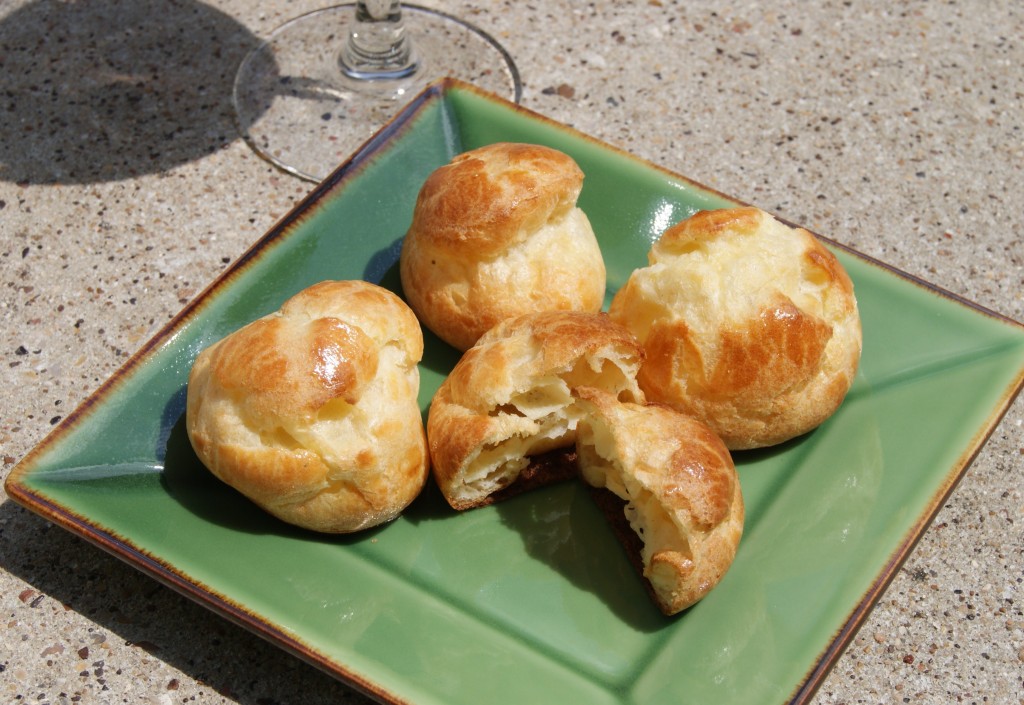 Gougères are light and airy cheese flavored puffs, that frankly couldn’t be simpler to make. They are scrumptious right out of the oven, but freeze well and can be quickly reheated just before serving. Gougères make a perfect savory pairing to a glass of red wine or an elegant addition to any cheese plate. You can make the dough in advance, then pipe them onto a cookie sheet and bake just before serving. I don’t own a pastry bag, and even though I’d like to, I can’t keep running to Sur La Table every time I want to try a new recipe. Part of great cooking is the power of improvisation. So like many before me, I gently stuffed my dough into a ziplock bag, ceremoniously cut off the tip, and began piping my first gougères.
 This stuffed chicken breast recipe was adapted from a recipe in
 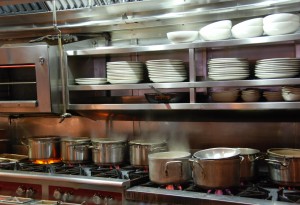 That is a picture of half of what I’d like for Christmas. Hopefully Santa’s elves can swing that for me. Kidding. Foodbuzz sent me on a commercial kitchen tour and cooking demonstration last weekend at